
Setting up Kind Cluster:
for Mac, installing and configuring Kind is very easy. In Mac termina, type and execute the following command:
brew install kindOnce your installation is complete, we can create a cluster by executing the following command:
cat <<EOF | kind create cluster --name playground --config=-kind: ClusterapiVersion: kind.x-k8s.io/v1alpha4nodes:- role: control-planekubeadmConfigPatches:- |kind: InitConfigurationnodeRegistration:kubeletExtraArgs:node-labels: "ingress-ready=true"extraPortMappings:- containerPort: 80hostPort: 80protocol: TCP- containerPort: 443hostPort: 443protocol: TCPEOF
extraPortMappings allow the local host to make requests to the ingress controller over ports 80/443.
node-labels only allow the ingress controller to run on a specific node(s) matching the label selector.
Setting Up an Ingress Controller
An Ingress Controller is a load balance for Kubernetes environments. It abstracts away the complexity of Kubernetes application traffic routing and provides a bridge between Kubernetes services and external ones.
Let's create Nginx Ingress controller for this tutorial. Let’s execute the following command in the terminal.
kubectl apply -f https://raw.githubusercontent.com/kubernetes/ingress-nginx/main/deploy/static/provider/kind/deploy.yaml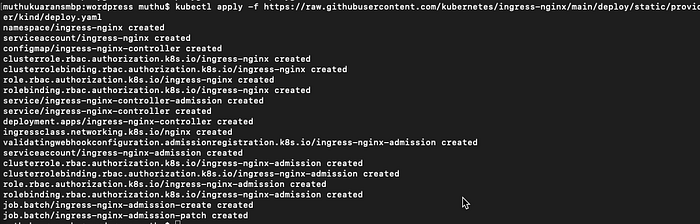
Now the Ingress is all setup. Wait until is ready to process requests running:
kubectl wait --namespace ingress-nginx \
  --for=condition=ready pod \
  --selector=app.kubernetes.io/component=controller \
  --timeout=90s
You can now see ingress-nginx controller created and ready to receive traffic.

Install WordPress and MySQL
MySQL and Wordpress each require a PersistentVolume to store data. A persistent volume is a storage in the cluster that has been dynamically provisioned for using Storage Classes. Persistent Volume Claim is a request for a storage by a user. It is similar to a Pod. Pods consume node resources and PVCs consume PV resources. Pods can request specific levels of resources (CPU and Memory). Claims can request specific size and access modes (e.g., they can be mounted ReadWriteOnce, ReadOnlyMany or ReadWriteMany). Please review and clone the code from the following repo.
navigate to the folder and execute the following command.
kubectl apply -k ./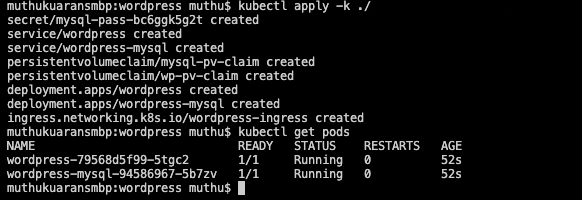
As you can see both wordpress and mysql pods are up and running.
Now navigate to http://localhost and you should see wp-admin page like the following:
